Getting Your Infrared Heating Right for Screen-Printed Glass
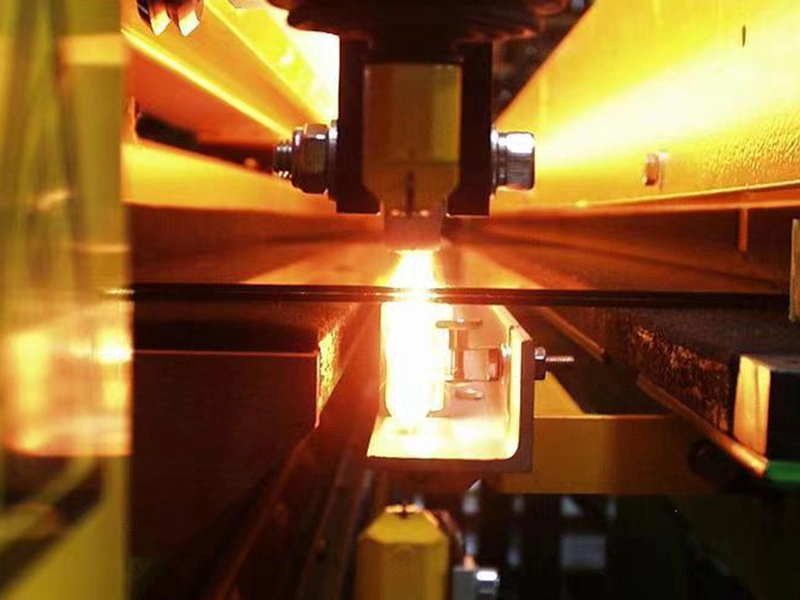
Here is the struggle when you try to screen print and temper glass in one go: you’re fighting physics. You need enough heat to fuse that ink for a slick, high-gloss finish. But if you push too hard—or if the heat hits the glass unevenly—your crisp patterns start to blur and the glass itself loses its strength. It’s a delicate balance. The secret is all in how you tune your IR emitters and power density. Keeping Your Lines Sharp Nobody wants “ink bleed.” That’s when the pigment liquefies and spreads out before it actually cures, leaving you with a messy blur. To stop that, we stick with short-wave IR lamps. They punch through the ink layer fast and hit the glass surface directly. We’re very careful with the wattage per linear centimeter. Why? Because if the heat density is too high, you’ll see these annoying “halo” effects around your graphics. You want a clean edge, not a glow. Handling the Heat Gradient You need the glass to hit its softening point consistently across the whole sheet. It can’t be hot in the middle and cool on the edges. We use quartz-halogen tubes because they ramp up almost instantly. It’s a lifesaver. If you suddenly switch to a thicker piece of glass, you can just tweak the heat on the fly without stopping the whole line. The Real-World Trade-offs Now, here is the catch. High-output lamps put a massive strain on your power grid and your cooling fans. You can’t just crank them to 100% and walk away. If you don’t have a heavy-duty ventilation system pulling that ambient heat away from the housings, the ends of your lamps will just burn out. It’s a waste of money. It really comes down to a dance between your lamp power and your conveyor speed. If you’re running thicker glass, slow the line down. Need more throughput? Bump up the wattage. Just don’t push it so hard that you cause thermal shock, or you’ll be picking up shattered glass from the floor.