Getting Your Glassware Annealing Right After Screen Printing
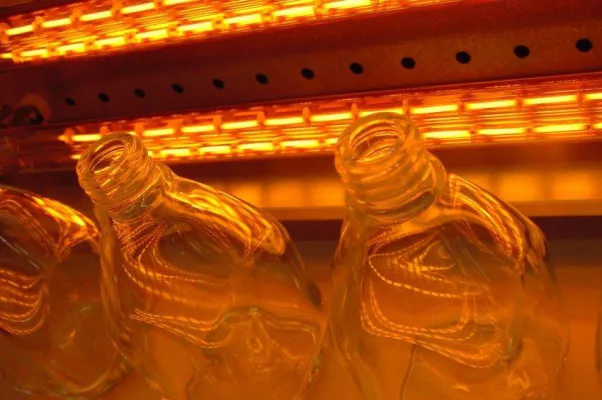
Here’s the struggle with screen-printing on glass: you’re fighting a war with heat. You need it hot enough to fuse the ink so your patterns look sharp, but if you push too hard in one spot, you create internal stress. The result? The glass snaps while it’s cooling, or your beautiful ink just smears. It’s a nightmare. We handle this by using shortwave infrared (IR) lamps in a single-pass annealing setup. It just works better. Finding the Sweet Spot The trick is hitting that curing temperature for the ink without cooking the glass itself. Shortwave IR is great because it punches through the surface fast. We figure out the lamp specs based on wattage per linear centimeter. Why? Because you need the heat to be the same across the whole piece of glassware. If you’re too light on the heat, the ink stays tacky. Go too heavy, and you’re looking at thermal shock. You basically have to play a balancing game between how fast the conveyor moves and how hard the lamps are hitting. The Gear: Quartz and Halogen We stick with quartz-envelope halogen lamps. Quartz is the way to go because it doesn’t warp when things get scorching. Plus, the halogen regeneration keeps the filament from evaporating. That means your heat stays steady for thousands of hours. You won’t deal with that annoying “dimming” you get with cheap heaters. When a tube finally gives out, we use R7s or SK15 connectors. They’re quick, drop-in replacements that don’t kill your uptime. The Trade-off Now, high-wattage IR arrays are fantastic for high-volume lines because they ramp up so quickly. But there’s a catch. That kind of intense radiant heat is aggressive. If your shielding is sloppy, it’ll warp your sensors or melt your cable insulation. It’s a mess. You’ve got to be smart about your cooling fans and heat shields to protect the electronics. If the air inside the oven gets too hot, your control loops start to drift, and suddenly your patterns aren’t consistent anymore.